Is your flat roof starting to leak, crack, or show signs of age? You’re not alone. Many homeowners face similar frustrations, such as water pooling after rain, rising energy bills, and the constant worry of roof damage. The good news? There’s a durable, long-lasting fix: the EPDM rubber roof.
Made from Ethylene Propylene Diene Monomer, this synthetic rubber resists harsh weather, UV rays, and daily wear. It’s lightweight, flexible, and surprisingly easy to install. Additionally, the EPDM rubber roofing cost is lower than that of many alternatives, making it a wise choice for lasting protection without incurring significant expenses.
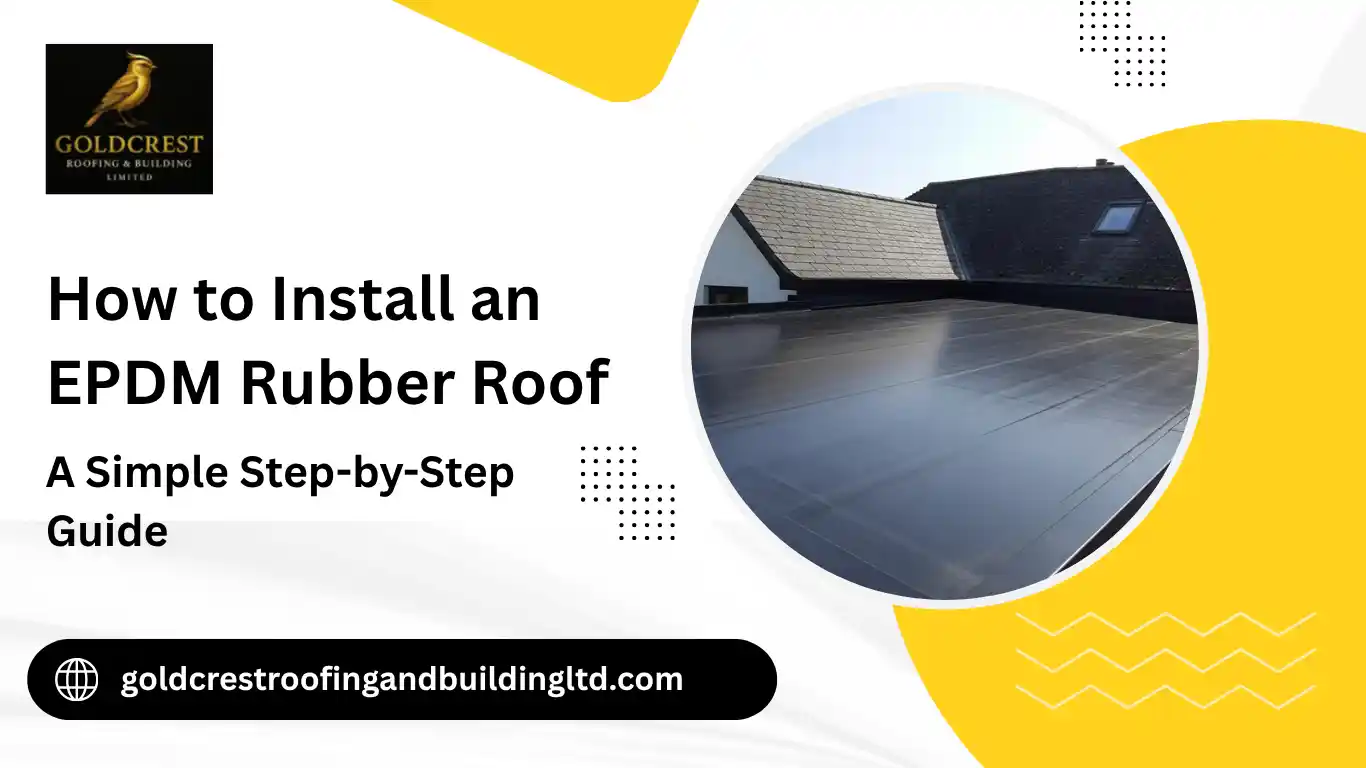
In this guide, you’ll learn how to install an EPDM rubber roof step by step, including the primary installation methods, essential tools, and expert tips for a smooth, watertight finish.
EPDM Rubber Roofing Installation Methods
When it comes to installing EPDM rubber roofing, there are three primary methods, each designed for different roof types and needs:
- Fully Adhered System
- Mechanically Fixed System
- Ballasted System
The fully adhered method is the most common in the UK, offering a smooth, watertight finish perfect for smaller homes and extensions. The other two are better suited for larger or commercial roofs.
Let’s explore each EPDM rubber roofing installation method, along with the tools, materials, and steps you’ll need to get it done right.
1. Fully Adhered EPDM Roofing Installation

The fully adhered system is the most popular method in the UK. It bonds the EPDM roofing rubber directly to the roof deck using adhesive, creating a clean, seamless, and watertight finish. This method is ideal for smaller roofs, garages, extensions, and garden buildings, offering excellent wind resistance and a neat appearance.
Tools and Materials Needed
- EPDM membrane (cut to fit your roof dimensions)
- Water-based or contact adhesive
- Roller or soft broom
- Seam tape and primer
- Utility knife or scissors
- Measuring tape and chalk line
- Edge trims or flashing tape
Step-by-Step Process
- Prepare the roof surface:
Start with a clean, dry, and smooth deck. Remove all dirt, dust, and old materials. The surface must be even; any bumps or screws sticking up can damage the membrane later. - Lay out the EPDM membrane:
Roll out the EPDM roof rubber over the deck and let it relax for at least 30 minutes. This allows the material to settle and reduces wrinkles during the installation process. - Mark and position:
Use a chalk line to mark the centre of the roof, then fold back half of the membrane so you can apply adhesive evenly. - Apply adhesive:
Using a roller, spread the adhesive on both the deck and the underside of the membrane. Wait until the glue becomes tacky, not wet, before bonding. - Bond the membrane:
Gently roll the EPDM sheet back into place, pressing it down from the centre outwards to remove air bubbles. Use a roller or soft broom to keep complete contact. - Seal the seams:
Where two sheets meet, apply primer and seam tape. Press firmly with a roller to create a strong, watertight seal. - Finish the edges:
Install edge trims or flashing tape to keep water from getting underneath the membrane. This also gives your roof a tidy, professional finish.
2. Mechanically Fixed EPDM Roofing Installation

The mechanically fixed system is ideal for larger or high-wind areas where additional security is required. Instead of bonding the entire surface with adhesive, this method uses fasteners, plates, and washers to anchor the EPDM rubber roof in place.
It’s quick to install, especially on metal or timber decks, and makes future maintenance easier since the membrane can be partially lifted if needed.
Tools and Materials Needed
- EPDM membrane (pre-measured and cut)
- Fasteners, metal plates, and washers
- Power drill or screwdriver
- Seam tape and primer
- Roller for seams
- Utility knife
- Edge trims or flashing
Step-by-Step Process
- Prepare and inspect the deck:
Make sure the roof deck is level, firm, and dry. Replace any damaged boards before starting. - Position the membrane:
Roll out the EPDM rubber roofing across the roof, leaving an overhang around the edges for trimming later. Let it rest for 20–30 minutes to allow it to flatten out. - Install the fasteners:
Along the seams and edges, secure the membrane using plates and screws at regular intervals (usually every 300 mm). This provides even tension and prevents wind uplift. - Seal the seams:
Apply primer and seam tape between overlapping sheets. Press down firmly with a roller to create a tight, waterproof seal. - Trim and finish:
Cut off excess material with a utility knife and install flashing or perimeter trims to protect the edges. - Final inspection:
Walk over the roof and double-check all fixings, overlaps, and seals. Everything should feel firm and watertight.
3. Ballasted EPDM Roofing Installation

The ballasted EPDM system is most often used for large, flat commercial roofs or structures that can bear additional weight. Instead of adhesives or mechanical fixings, the rubber EPDM roofing is held in place with ballast, typically smooth gravel, river stones, or concrete paving slabs.
This method is fast, cost-effective, and requires minimal tools; however, it does require a strong roof structure to handle the added load.
Tools and Materials Needed
- EPDM membrane
- Seam tape and primer
- Washed, smooth gravel or concrete slabs
- Measuring tools and a broom
- Protective walkway pads (optional)
Step-by-Step Process
- Prepare the surface:
The roof surface should be flat, clean, and capable of supporting the weight of the ballast. Remove sharp objects that could puncture the EPDM roofing rubber. - Lay the membrane loosely:
Roll out the EPDM sheet across the entire area, leaving around 100–150 mm overlap between sheets. Let it rest before sealing to prevent tension. - Seal the overlaps:
Apply primer and seam tape to all joints and press firmly to create a watertight connection. Sealing is crucial since no adhesive is used to bond the sheet to the deck. - Add the ballast:
Spread the ballast (gravel or slabs) evenly over the membrane to hold it in place. Avoid dumping heavy loads in one spot; distribute them gently to prevent damage. - Check and adjust:
Inspect for folds or lifted edges. Check that the weight is spread evenly and that the drainage areas remain clear. - Optional – add walkway pads:
If you need to access the roof frequently, place walkway pads over high-traffic areas to protect the membrane from wear and tear.
Tips for a Smooth EPDM Rubber Roofing Installation
Installing EPDM is straightforward, but a few helpful tips can significantly enhance the final result.
- Measure carefully: Always double-check your roof measurements before cutting the membrane for safety.
- Work in dry weather: Adhesives and tapes perform best in mild, dry conditions.
- Avoid stretching: Let the membrane relax before installation to prevent shrinkage later.
- Seal every seam: Proper sealing makes sure your EPDM roof rubber stays watertight.
- Choose quality materials: Premium adhesives and tapes help your roof last longer.
- Inspect yearly: A quick annual check helps you catch minor issues early.
If you’d rather have the work handled by professionals, our roofers in Lewisham offer reliable EPDM rubber roof installation with a watertight, long-lasting finish.
How to Maintain an EPDM Rubber Roof
A little care keeps your EPDM rubber roofing performing optimally for years to come.
- Clean it twice a year: Use mild soap and water to remove dirt and algae.
- Clear debris: Keep leaves and twigs off the roof to prevent water pooling.
- Check seams and flashing: Make sure all joints and trim remain tight and sealed.
- Avoid sharp tools: Don’t use anything that might puncture the EPDM rubber roof.
- Fix minor issues quickly: Small tears or loose seams can be easily repaired with EPDM repair kits.
- Maintain drainage: Keep gutters and outlets clear to prevent standing water.
Choosing the Right Installation Method
Each EPDM rubber roofing installation method has its purpose:
- Fully adhered – Best for smaller roofs and home projects.
- Mechanically fixed – Ideal for large or wind-exposed areas.
- Ballasted – Suitable for strong, flat commercial roofs.
The overall EPDM rubber roofing cost depends on the roof size, materials, and installation method. However, whichever option you choose, it’s one of the most cost-effective and reliable roofing systems available today.
Conclusion
An EPDM rubber roof is one of the most reliable and cost-effective ways to protect your home from leaks and weather damage. Whether you choose the fully adhered, mechanically fixed, or ballasted method, following the right installation steps guarantees a durable, watertight result that lasts for decades.
With proper care and simple yearly maintenance, your EPDM roofing can stay strong and energy-efficient for years to come.
If you prefer expert installation, our roofing services in Lewisham offer professional EPDM roof fitting and repairs, providing a flawless finish and long-term protection. Investing in EPDM today means peace of mind, lower maintenance costs, and a roof built to withstand whatever the weather throws at it.
FAQs
Does EPDM need to be glued down?
Not always. It depends on the installation method. For fully adhered EPDM roofing, the membrane is glued directly to the roof deck, providing a seamless and watertight finish. In mechanically fixed or ballasted systems, the membrane is held in place by fasteners or ballast, rather than glue.
What should not be used on EPDM?
Avoid harsh chemicals, petroleum-based products, or sharp tools that can damage the rubber. Additionally, avoid using standard roofing tar or bitumen-based adhesives, as they can react with EPDM, potentially reducing its lifespan.
What is the minimum fall on an EPDM roof?
EPDM can perform well on very flat roofs, but a minimum fall of 1:80 (around 1.25%) is recommended to keep proper drainage and prevent standing water.
Which side of EPDM goes down?
Most EPDM membranes are marked to indicate the adhesive side or the smooth side that should face down. Typically, the side labelled as the “adhesive side” or “back side” is applied against the roof deck, while the smooth, top-facing side is exposed. Always refer to the manufacturer’s instructions to keep a correct installation.