
To protect your flat roof from rain and weather, adding roofing felt is one of the most effective solutions. A flat roof made of felt provides strong waterproofing, is budget-friendly, and lasts for many years when installed properly.
In this guide, we’ll walk you through how to felt a flat roof step by step, using clear instructions that anyone can follow. Whether you’re repairing a shed, garage, or extension roof, these tips will help you get it right the first time.
Why Use Felt for a Flat Roof?
Roofing felt has been used for decades as a reliable material for covering flat roofs. It is made with layers of bitumen (asphalt) and reinforced with fibres for strength.
Here’s why it’s a good choice:
- Waterproofing: Stops rain from soaking into the roof.
- Durability: Protects the roof for many years with proper care.
- Cost-effective: One of the most affordable flat roof materials.
- Easy to repair: Small tears or damage can be fixed without replacing the whole roof.
If you want the strongest results, always choose the best roofing felt for flat roof projects, as higher quality felt lasts longer and gives better protection.
Tools and Materials You’ll Need
Before you start felting a flat roof, make sure you have everything ready:
- Flat roofing felt (enough for three layers)
- Roofing adhesive (cold or hot applied)
- Clout nails (short, wide-headed nails)
- Hammer
- Sharp knife or scissors
- Tape measure
- Broom or brush
- Sealant or edge trim for finishing
How to Felt a Flat Roof (Step-by-Step Guide)
Felt a flat roof may seem like a big task, but when broken down into simple steps, the process is easy to follow. By preparing the surface, laying multiple layers of felt, and sealing the edges correctly, you can create a strong, waterproof roof that will last for years.
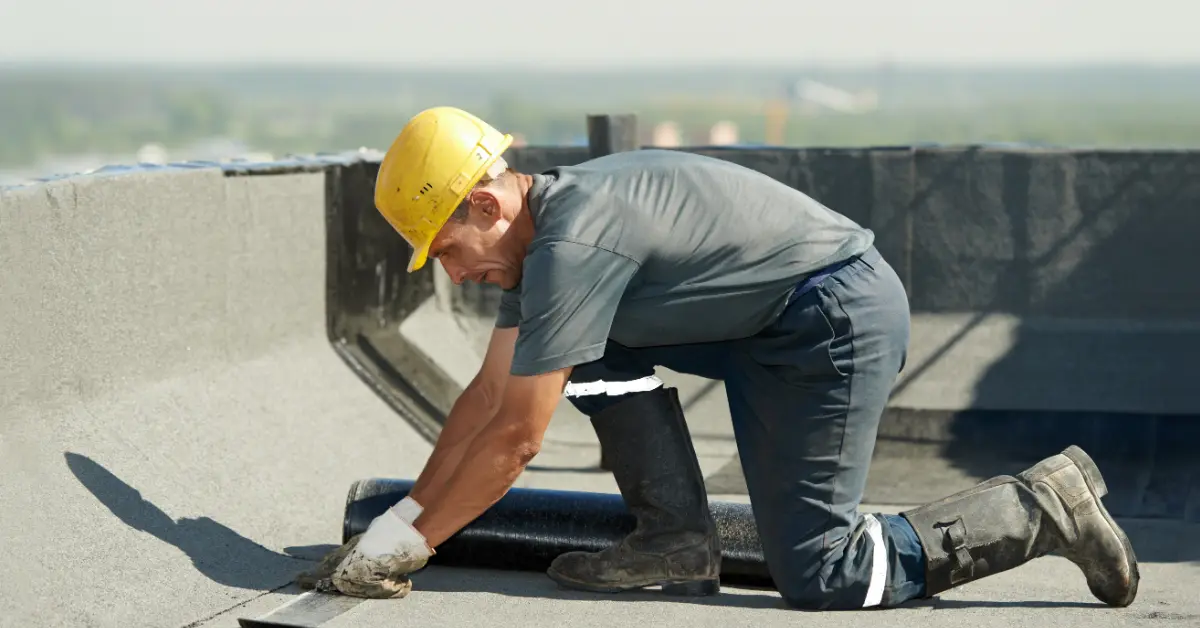
Step 1: Prepare the Roof Surface
The first step in felting a flat roof is preparation. A good finish always starts with a clean and solid surface. Begin by removing any old felt, loose nails, or damaged sections from the roof deck. Sweep away all dirt, leaves, and dust so that the surface is completely clear. If you notice any rotten or soft timber underneath, replace it with fresh boards before continuing. The base must be dry, smooth, and firm; otherwise, the new roofing felt for flat roof will not stick properly.
Step 2: Measure and Cut the Felt
Once the roof is ready, the next step is measuring. Carefully measure the full length and width of the roof, then calculate the total area. A flat felt roof normally requires three layers of felt: a base layer, an underlay, and a final cap sheet. To avoid running short, always add a little extra to your measurements so you have enough felt to overlap the edges. Roll out the felt and allow it to settle for about 20 to 30 minutes before cutting. This helps the material relax and makes it easier to handle during installation.
Step 3: Lay the First Layer of Felt
With the materials prepared, you can start felting. Place the first layer, known as the base layer, along the lowest edge of the roof. Allow the felt to overhang slightly at the sides to help water run off easily. Each strip of flat roofing felt should overlap the next one by around two to three inches so that rain cannot seep through the joints. Fix the felt in place using clout nails or a strong adhesive, pressing down firmly to keep it smooth and flat. This creates a solid foundation for the layers that follow.
Step 4: Add the Underlay Felt
After securing the base layer, apply a thin coat of roofing adhesive over the surface. This will help the second layer stick properly. Lay the underlay felt on top, making sure the joints do not sit directly above the seams of the first layer. Staggering the seams adds strength and makes the roof more waterproof. Smooth out any wrinkles or bubbles as you go, pressing the material down so that the layers bond firmly together. This step is important because it reinforces the structure of the felt flat roof and improves its resistance to heavy rain.
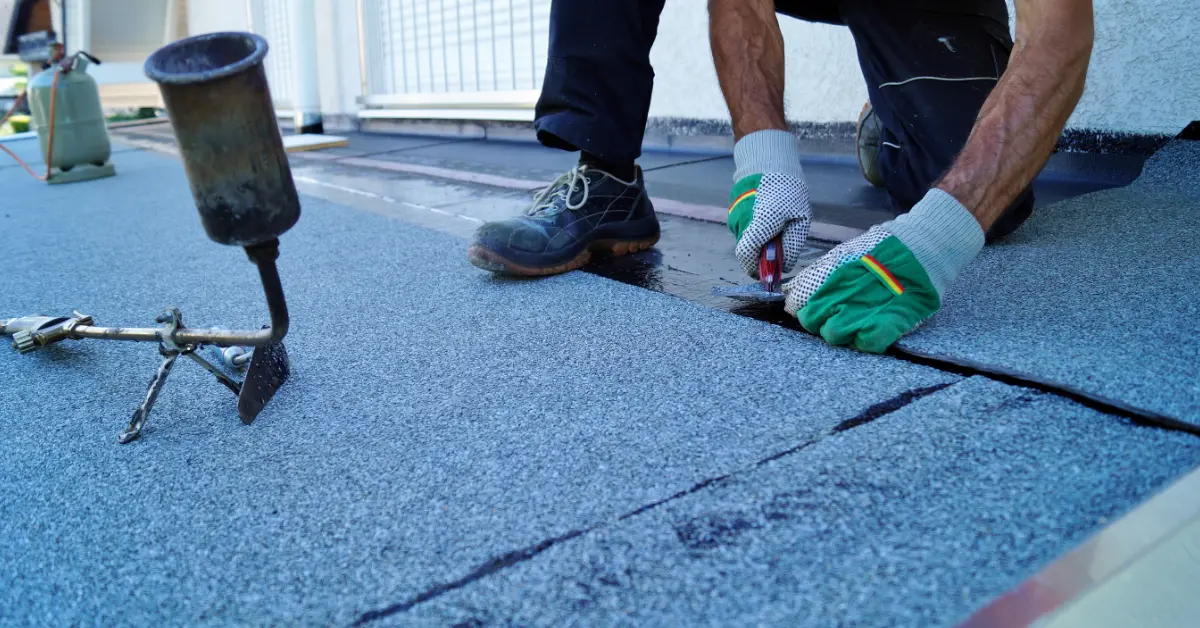
Step 5: Finish with the Cap Sheet
The final layer is the cap sheet, which is the top layer exposed to the weather. Spread adhesive evenly across the underlay, then roll out the cap sheet, overlapping the edges as before. This top layer of flat roof felt gives the roof its clean finish and provides long-lasting waterproof protection. Take extra care to smooth the surface so it looks neat and professional, as this layer will be visible. Choosing the best roofing felt for flat roof projects at this stage is for maximum durability and protection for years to come.
Step 6: Seal the Edges and Corners
Once all three layers are in place, it’s time to focus on the details. Trim away any extra felt hanging over the sides, then fold the material neatly over the roof edges. Secure it with nails or adhesive, and for an even stronger finish, apply bitumen sealant or use metal edge trims. Corners and joins are the most vulnerable areas of a roof, so sealing them properly makes sure your felt for flat roof will not peel or let water in. A tidy finish also gives the roof a more professional look.
Step 7: Inspect the Roof
Before packing away your tools, take a few minutes to inspect the roof carefully. Walk around the edges and check that all overlaps are sealed tightly. Look for loose corners, small gaps, or raised bubbles that could allow water to seep underneath the felt. If you spot any issues, fix them immediately by applying more adhesive or using nails as needed. A proper final check guarantees that your new flat roofing felt will stay secure and protect your property for many years.
How Long Will a Felt Roof Last?
A well-installed felt flat roof can last anywhere between 10 and 15 years. The lifespan depends on the quality of the felt used, the quality of the installation, and the frequency of maintenance. Using the best roofing felt for flat roof projects and maintaining small repairs can add years to its lifespan. Regular inspections, especially after heavy rain or storms, are also recommended to keep the roof in top condition.
If you’d prefer a professional finish that lasts, our flat roofing services provide expert installation and repairs for all types of flat roofs.
Conclusion
Now you know exactly how to felt a flat roof step by step. While smaller projects, such as sheds or garages, can often be managed with basic DIY skills, larger roofs or those with severe damage are always best left to a professional. A well-installed flat roof felt system not only protects against leaks but also makes your property stand strong against changing weather conditions.
If you need trusted experts, our experienced Roofers in Lewisham provide reliable flat roofing services with long-lasting results. Using only the best roofing felt for flat roof projects, we make sure your home or outbuilding stays secure and protected for years to come.
FAQs
How do you felt a flat shed roof?
To felt a flat shed roof, first clean and prepare the roof deck. Then lay three layers of felt, a base sheet, an underlay, and a cap sheet, making sure each strip overlaps. Finally, seal the edges and corners to keep the roof waterproof.
How to lay felt on a flat roof?
Start at the bottom edge of the roof and roll out the felt, overlapping each strip by at least 2–3 inches. Secure it with nails or adhesive, then add the underlay and cap sheet in the same way. Always smooth the felt flat to avoid bubbles or gaps.
How to felt edges and corners of a flat roof?
Trim the excess felt, fold it neatly over the edges, and fix it with nails or adhesive. Use bitumen sealant or edge trims to make corners and edges watertight. This prevents leaks and gives the roof a neat finish.
How do you stick felt to a flat roof?
Apply an even layer of felt adhesive to the surface before laying the first sheet. Make sure the coating is consistent, as uneven application can cause problems when adding the next layers.